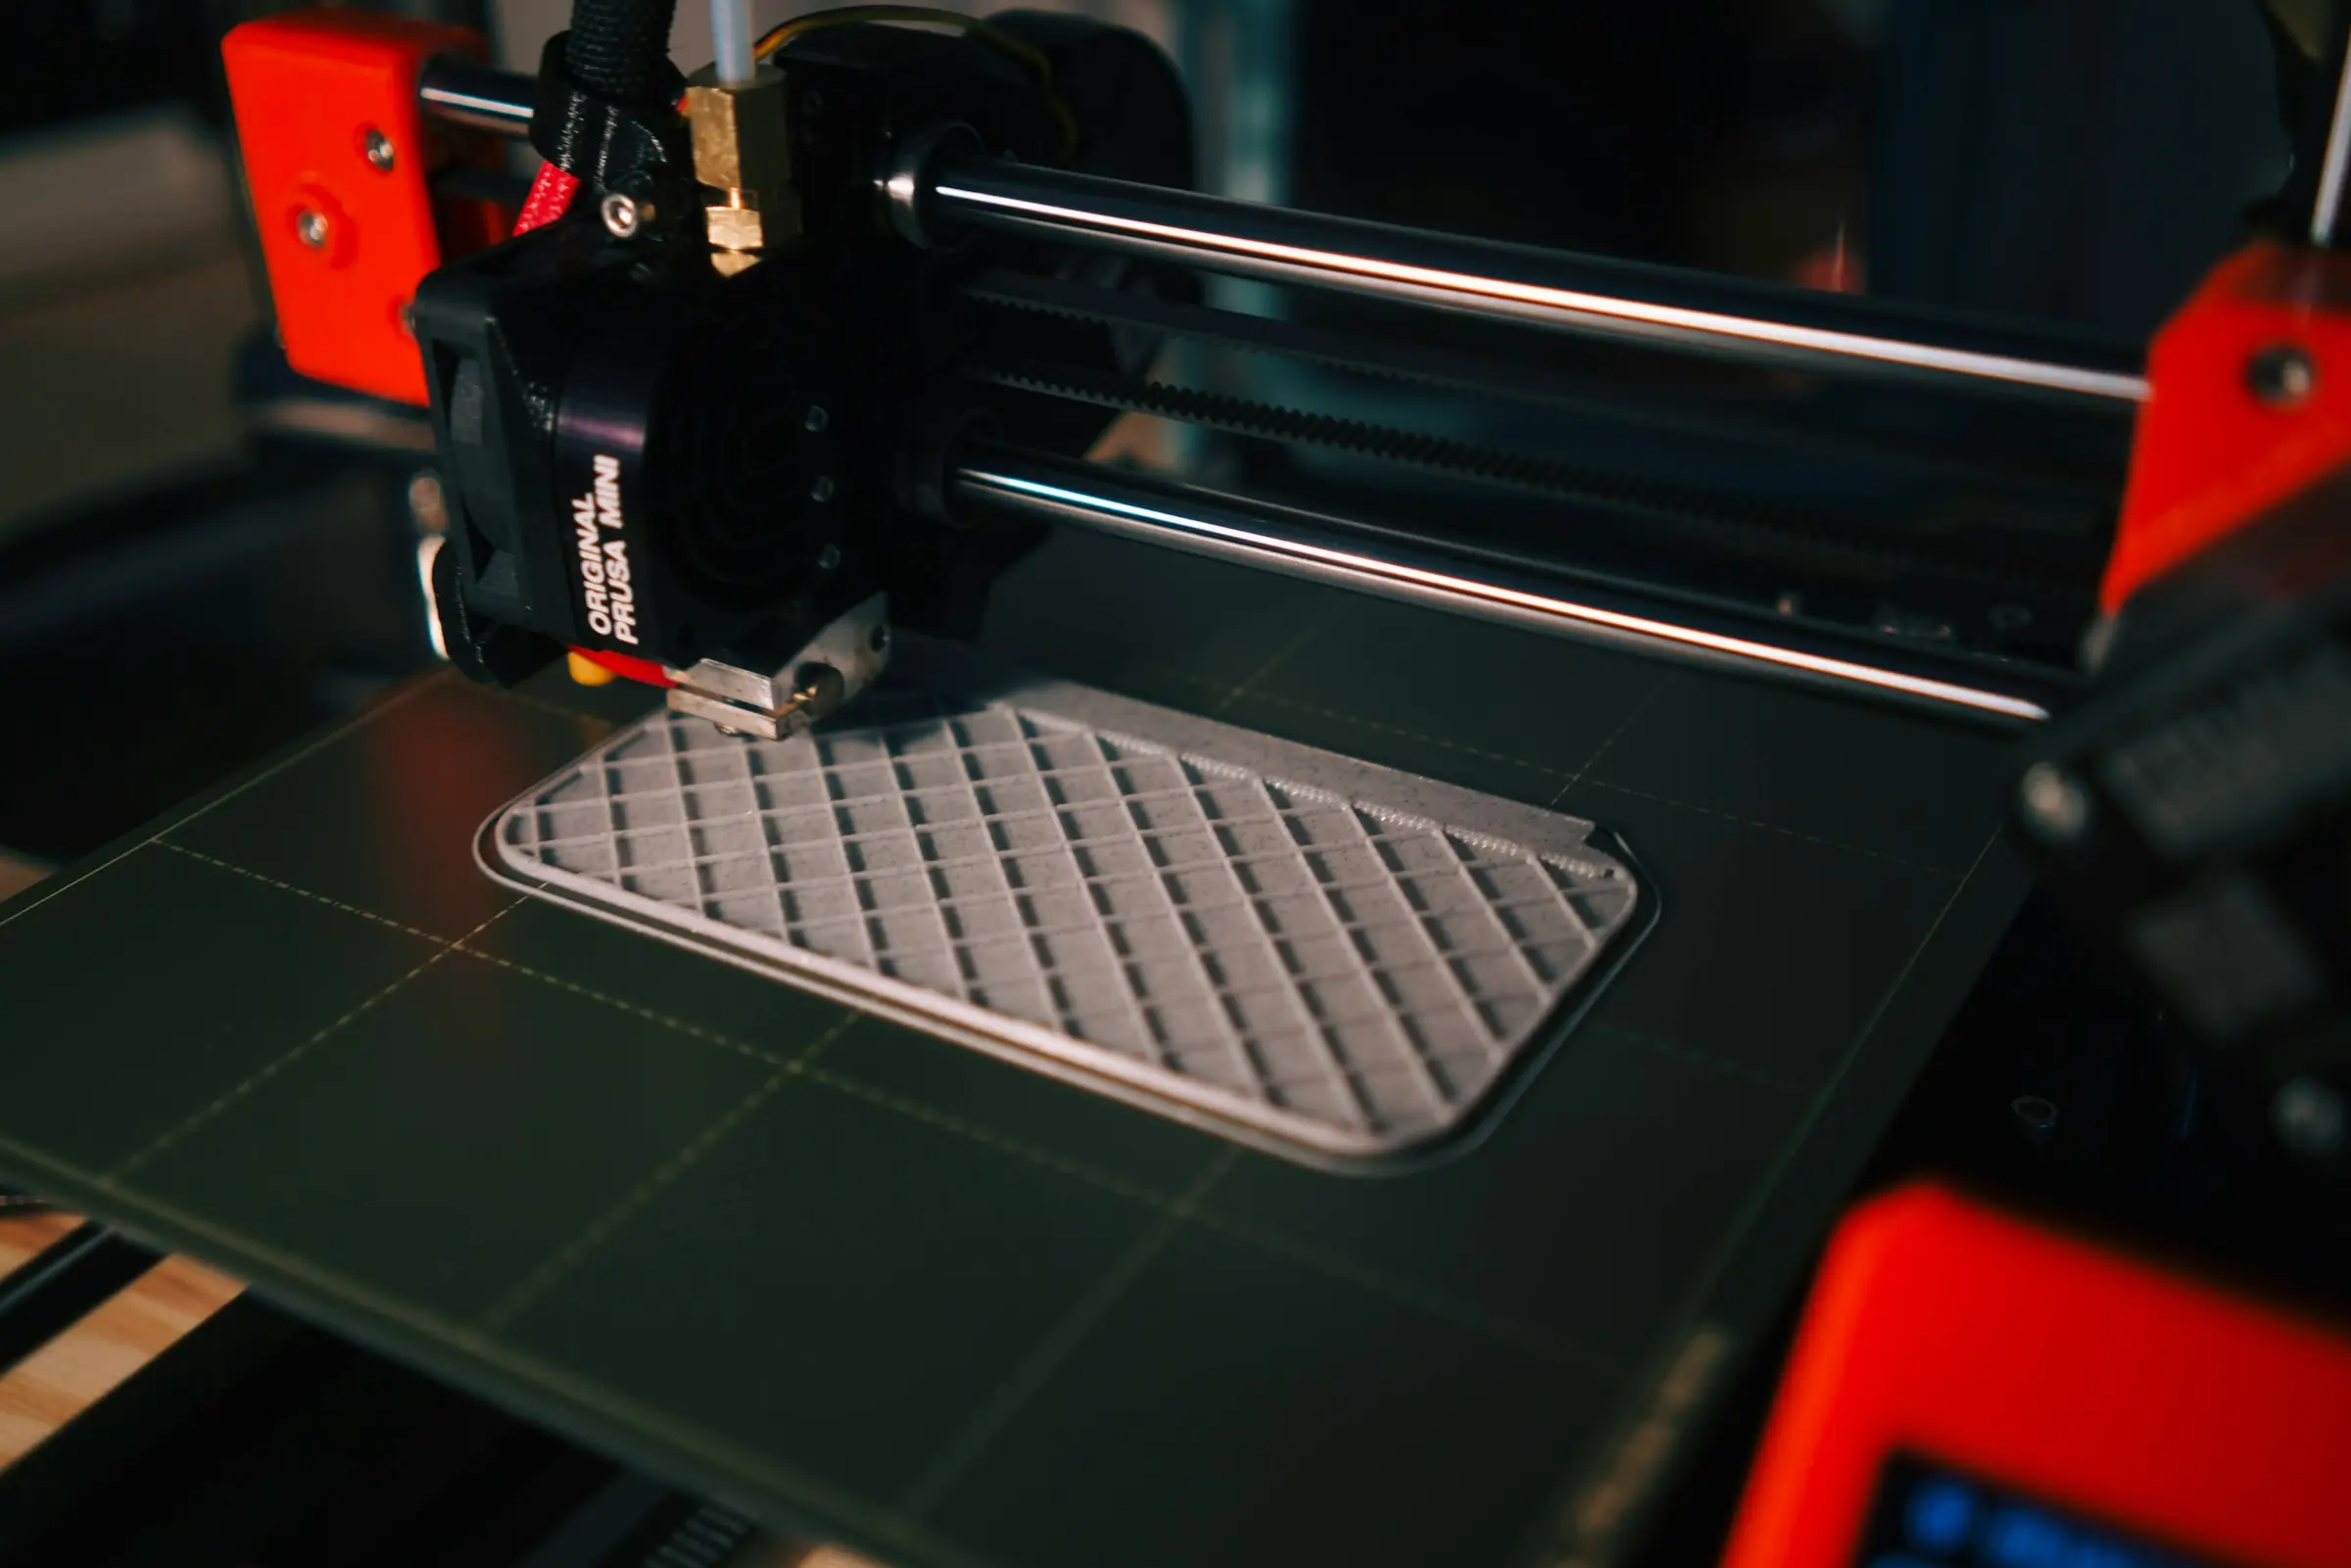
For most parts, 10 to 20 percent infill is enough, and if you need more strength the first thing to add is walls. Prusa’s infill documentation puts it in one line: the strength of a model is mostly defined by the number of perimeters, not infill. The exceptions are compression, screws driven into the part, and small features that hang off the body, where infill does real work.
What the slicer makers say
Prusa’s knowledge base says most models print fine at 10 to 15 percent, that you will rarely need more than 30 percent, and that raising infill is for weight, compression resistance or stiffness. Prusa’s longer article on infill narrows it: its testing found 10 to 20 percent to be the best balance of strength, reliability, time and material, which is why its profiles ship that way, and it says it makes “very little sense” to go above 40 percent. Above 20 percent you do gain toughness, it adds, but the same effect can be had by adding perimeters. It also says solid parts will in most cases not have better mechanical properties than sparsely filled ones. Prusa does not publish the test data behind those statements, so take them as an experienced maker’s summary, not as measurements you can check.
The OrcaSlicer walls documentation lists what more wall loops buy: layer adhesion, strength and rigidity, plus less infill pattern showing through the surface, at the cost of print time. The OrcaSlicer infill documentation says higher density raises strength, material use and print time, and then adds a caveat most guides miss. Density is a share of the infill volume, not of the whole part, and not every pattern interprets the percentage the same way, so 20 percent of one pattern can be a different amount of plastic from 20 percent of another.
So a bare “40 percent was much stronger than 20” tells you little unless the pattern and wall count come with it.
The one set of numbers everyone quotes
Protolabs Network’s guide to shells and infill (the former Hubs knowledge base) gives the figures you will see repeated: a part at 50 percent infill is “typically 25% stronger” than one at 25 percent, and going from 50 to 75 percent adds around 10 percent more. It says most slicers default to 18 to 20 percent, which it calls adequate for most applications, and that shells are typically two nozzle widths, 0.8 mm.
Those numbers describe diminishing returns, and the shape is believable. But the page does not say what part, what load, what material or how many samples. Doubling the infill plastic for 25 percent more of an unspecified strength is a poor trade on its face, and the second doubling is worse. I would use these figures for the direction they point and nothing finer.
Why walls win: a worked example
This is geometry, not a test result. For a part loaded in bending, stiffness depends on the second moment of area of the cross-section, and material counts in proportion to the square of its distance from the middle. Plastic at the skin works hardest. Plastic at the center of the section does almost nothing.
Take a 40 mm cube-sized block, 64 cm³ outside, printed with a 0.45 mm line.
| 2 walls, 15% infill | 2 walls, 30% infill | 4 walls, 15% infill | |
|---|---|---|---|
| Shell thickness | 0.9 mm | 0.9 mm | 1.8 mm |
| Shell volume | 8.3 cm³ | 8.3 cm³ | 15.8 cm³ |
| Infill plastic | 8.4 cm³ | 16.7 cm³ | 7.2 cm³ |
| Total plastic | 16.6 cm³ | 25.0 cm³ | 23.0 cm³ |
| Shell’s share of a solid bar’s bending stiffness | 17% | 17% | 31% |
The last row is 1 - (inner width / outer width)⁴ for a square section: 1 - (38.2 / 40)⁴ = 0.17 and 1 - (36.4 / 40)⁴ = 0.31. The shell volumes treat all six faces as the same thickness, which is a simplification.
So doubling the walls costs 6.4 cm³ more plastic, about 8 g of PLA at 1.24 g/cm³, and nearly doubles what the shell alone contributes to bending stiffness. Doubling the infill costs 8.4 cm³, about 10 g, and spreads it evenly through the interior, most of it near the middle where it carries little. I cannot put an honest number on what that extra infill adds, because it depends on the pattern and how well it bonds to the walls. The geometry says it cannot be much per gram.
The limits of this argument: it covers bending and twisting, which is how most brackets, arms and clips are loaded. It says nothing about the bond between layers, which is a separate question. And it is arithmetic on an ideal section, which a real print only approximates.
There is one published experiment that fits the same picture. CNC Kitchen’s gradient infill test used a script to make infill denser near the walls and sparser in the core, without changing the pattern. On bending bars, the gradient parts came out almost 30 percent stiffer at the same weight, and almost 60 percent stiffer at the same print time. Putting the plastic near the skin worked. The same article is a useful corrective, though: on a small test hook the gradient showed no significant improvement over simply raising the infill percentage, because, in the author’s words, on a part that small the script adds material in places that do not need it.
Where infill earns its keep
Protolabs Network names the cases, and they are all about something attaching to or pressing on the inside of the part.
Screws driven into the print. A screw through a low-infill part bites the top and bottom skins and mostly misses the infill between. Protolabs recommends at least 50 percent where you will drill or screw into the part, then shows the cheaper fix: thicker shells around the hole give the same anchoring for less plastic. In a slicer that means a modifier with extra walls or solid infill around the hole, not raising the whole part.
Features that stick out. The base of a snap-fit clip or a thin post joins the body over a small area. At low infill that area is mostly air. Protolabs compares broken clips printed at 20 and 100 percent and reports a much stronger connection to the body at the higher figure.
Compression. Prusa singles it out as the load infill helps with. A part being squashed flat needs columns under the skin.
Through-bolts are the opposite case. Protolabs notes that clearance holes and bolts suit low-infill parts, because shells, walls and infill together resist the squeeze well enough.
And the basic job: Prusa says the main purpose of infill is to hold up the top layers. Too little and the top surface sags between lines regardless of strength.
Settings that beat more percent
A few options add strength for less plastic than a global increase.
- More wall loops. Three or four instead of two is the default move.
- OrcaSlicer’s alternate extra wall adds a wall on every other layer, which its docs say wedges the infill vertically between walls for a stronger print. It requires turning off ensure vertical shell thickness.
- Infill anchors. Prusa’s docs explain that infill lines are tied into the perimeters with a short anchor, which improves integrity, and that PETG needs it to stabilize flow at the start of each line. Leave it on.
- Solid infill every N layers, which Prusa offers for toughness while noting that more perimeters work better.
- A wider line. The 0.6 vs 0.4 mm nozzle guide covers Prusa’s impact test, where parts from the bigger nozzle absorbed more energy.
What I would set
Decorative and general parts: 10 to 15 percent, two or three walls. Functional brackets: 15 to 20 percent and four walls. Anything taking screws or carrying a small clip: local reinforcement with a modifier. Going past 40 percent across a whole part should need a specific reason, such as compression or weight.
The cost side is easy to check. Slice it both ways and put the two gram figures into the print cost calculator, or turn grams into meters with the filament length and weight calculator. Material is the other lever, so compare the data sheet figures on the PLA, PETG and carbon-fiber nylon pages before you reach for the infill slider.